Hướng dẫn cài đặt SQL Server 2019 trên Windows
SQL Server 2019 installation on Windows
We can install SQL Server 2019 on Windows, Linux, Docker containers and Big data analytics container images with Kubermetes. Go to SQL Server 2019 and we get below download options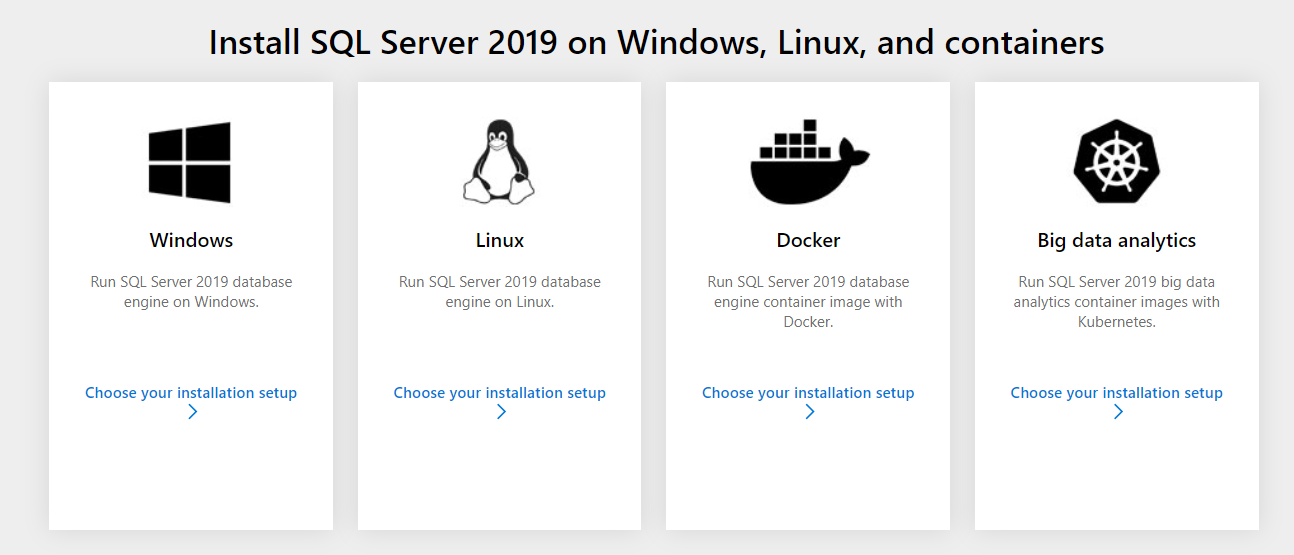
In this article, we are going to install SQL Server 2019 on windows so click on windows and it now opens a screen with only windows operation system set up.
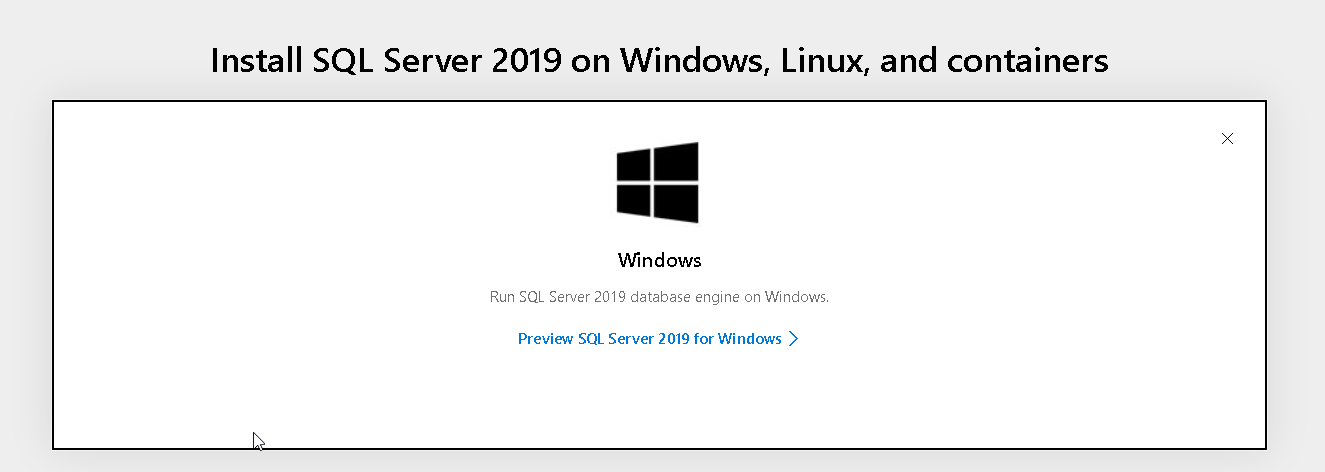
Click on ‘Preview SQL Server 2019 for Windows’ and it lands on the product family page. We need to provide basic details like Name, Company name, email address, contact number, and country name.

Once you provide details, click on ‘Continue’ and it starts the download.
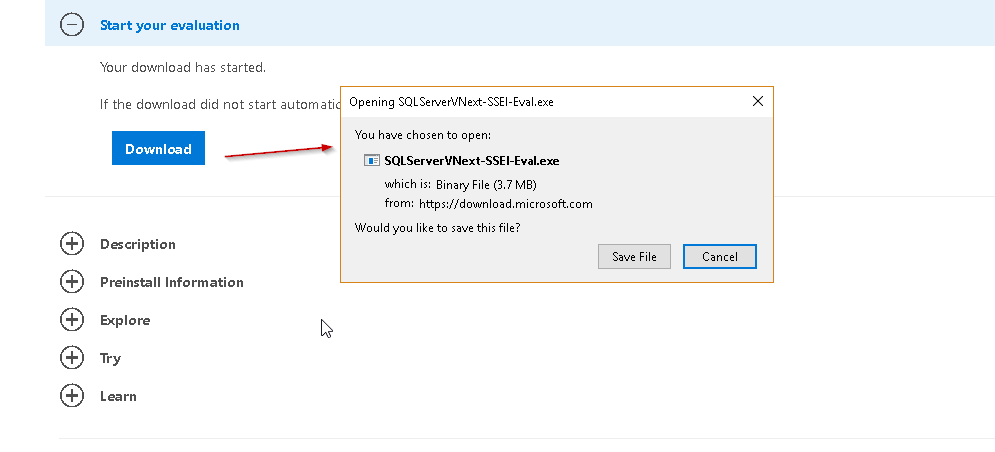
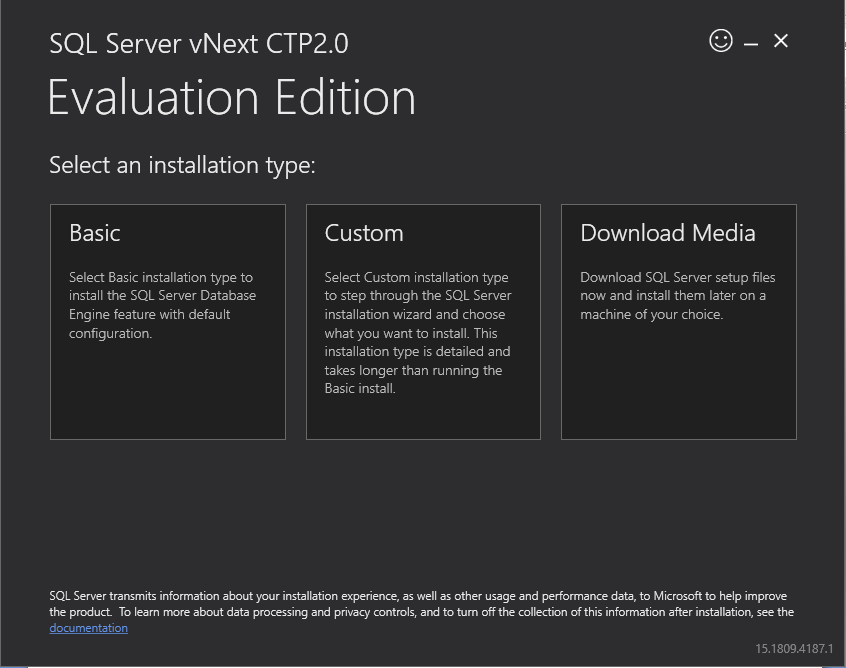
Once the download is complete, click on SQLServerVNext-SSEI-Eval.exe file and you get below options for the installation of SQL 2019.
It gives three options to choose:
- Basic: To install the database engine with default settings.
- Custom: in this option, we will go through the installation steps and configure SQL Server as per our requirement.
- Download Media: If we just want to download the set up, choose this option. We can choose ISO\CAB format to download.
Let us choose the Custom mode for the installation. Once you click on the custom mode, it asks for the SQL Server media download target location. This path should have sufficient free space to download media.
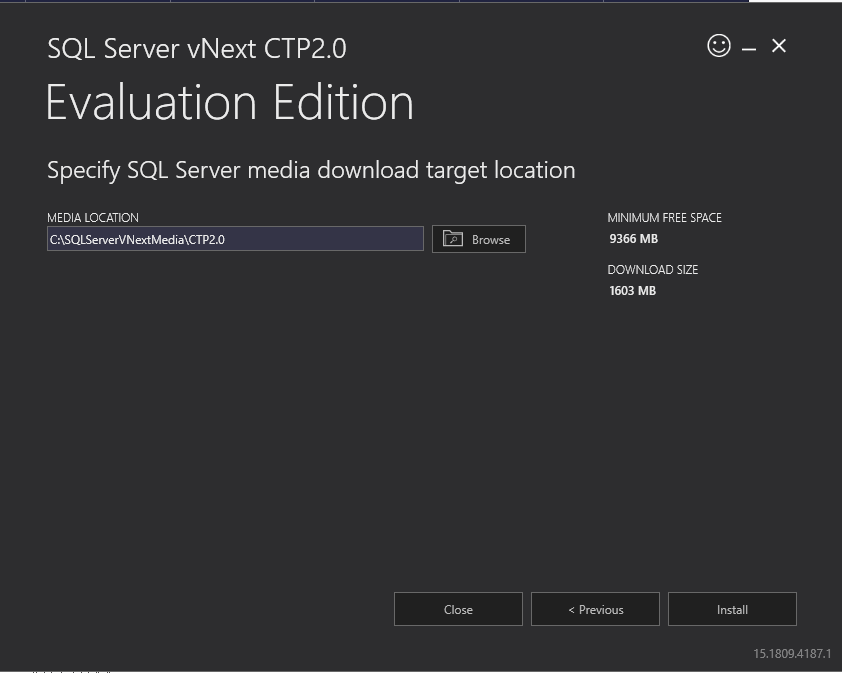
Click on Install to move further. It downloads the media and starts the installation.
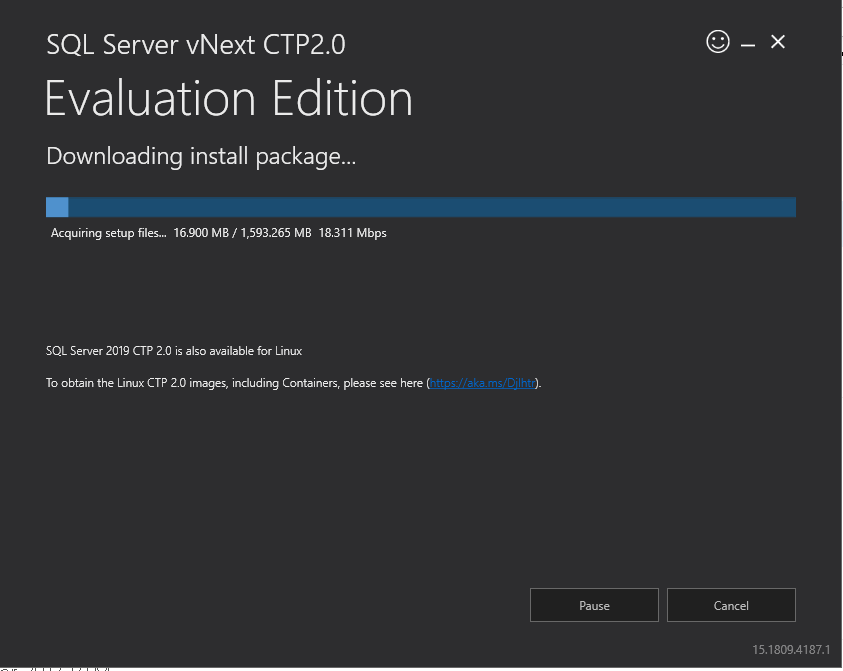
While the download is in progress, we can a few messages to give us some important information.
- SQL SERVER 2019 CTP 2.0 is also available for Linux. To obtain the Linux 2.0 images, including containers, please see here.
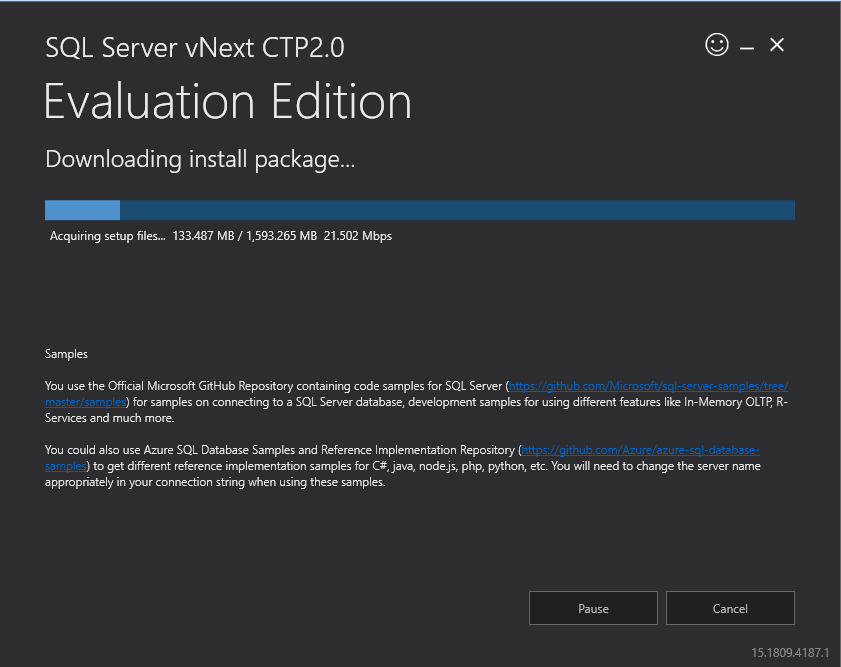
- Microsoft GitHub repository link for code samples for SQL Server Database.
- Azure SQL Database samples and reference Implementation.
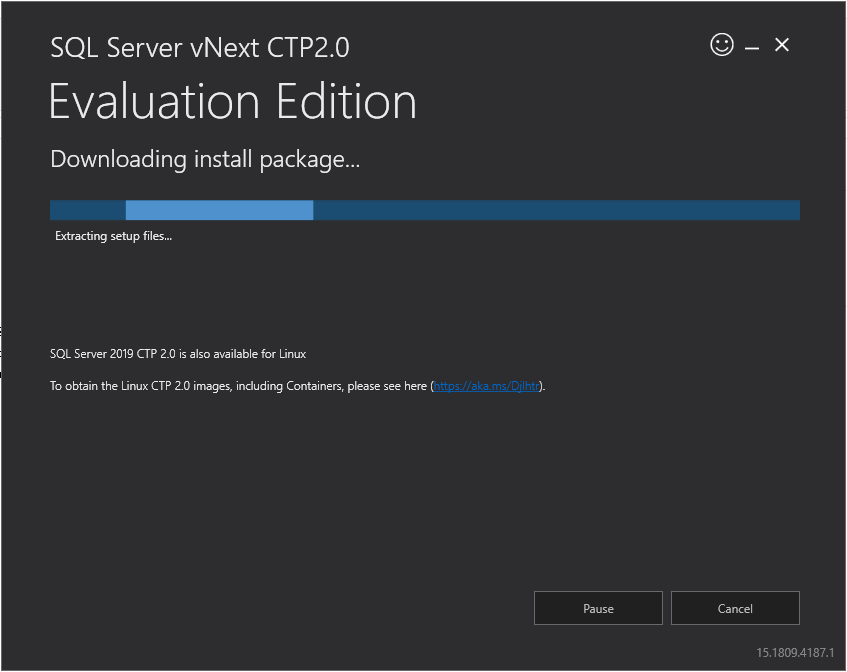
We need to wait while SQL Server vNext CTP 2.0 set up process the current operation.

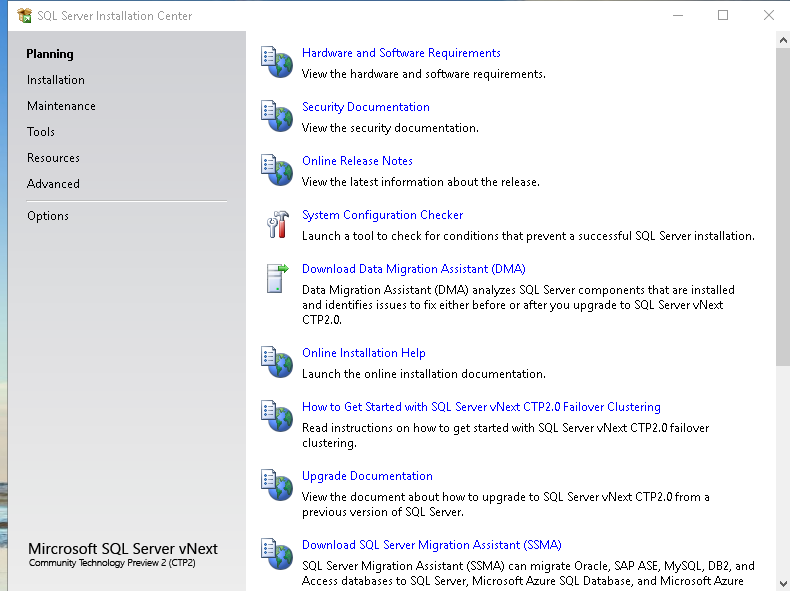
It launches the SQL Server installer page that contains links for below pages:
- Planning: for SQL Server documentation, release notes, upgrade documentation etc.
- Installation: Install SQL Server services on stand-alone and cluster instance; install SQL Server Reporting service, Management tools, data tools etc.
- Maintenance: Edition upgrade, repair, remove a node from clusters.
- Tools: System configuration checker, SQL Server feature discovery report, Microsoft Assessment and Planning Toolkit
- Resources: SQL Server resources, books online, license agreement, privacy statement.
- Advanced: install SQL Server on the configuration file, advanced cluster preparation, image preparation and completion of the standalone instance
- Option: Specify architecture (x64 or x86) and installation media root directory.
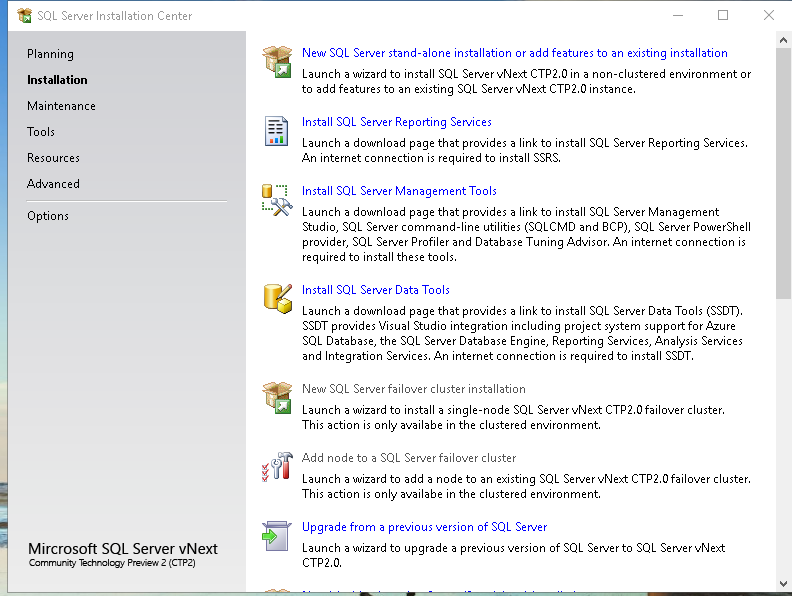
Click on Installation page and then on ‘New SQL Server stand-alone installation or add features to an existing installation’
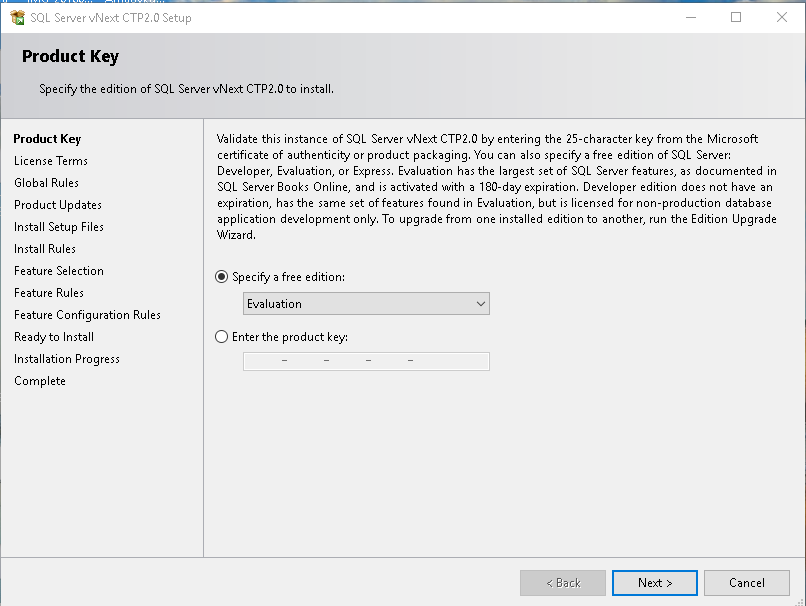
Since we are installation evaluation edition of SQL Server vNext CTP2.0, we will move will default option ‘Evaluation’ and click Next
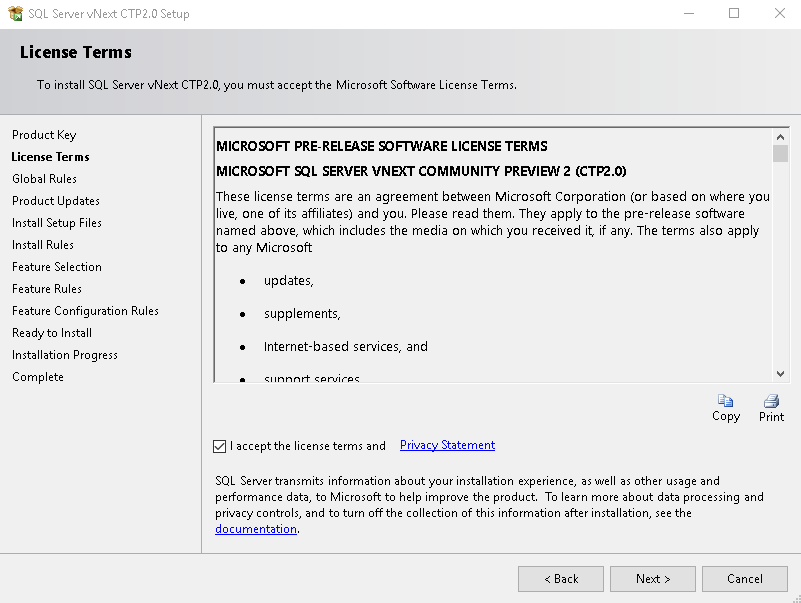
Accept the license terms and conditions. Please note the message written here that SQL Server
Transmits information about installation experience in performance data to Microsoft to help improve the product.
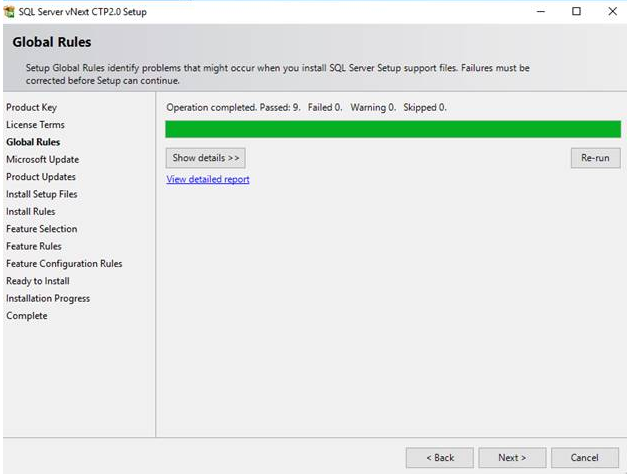
Click on Next. In the next page, it checks for the Global rules and give status information about successful, failed rules. If there are any failed rules, we need to fix those before proceeding with the installation.
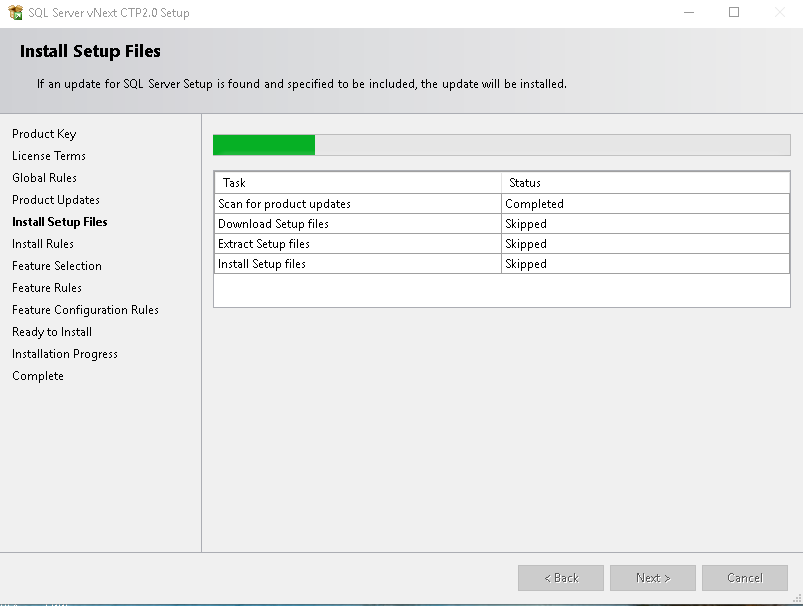
In the next step, it downloads the setup files. If SQL Server installation is already there on the server, it might skip the steps.
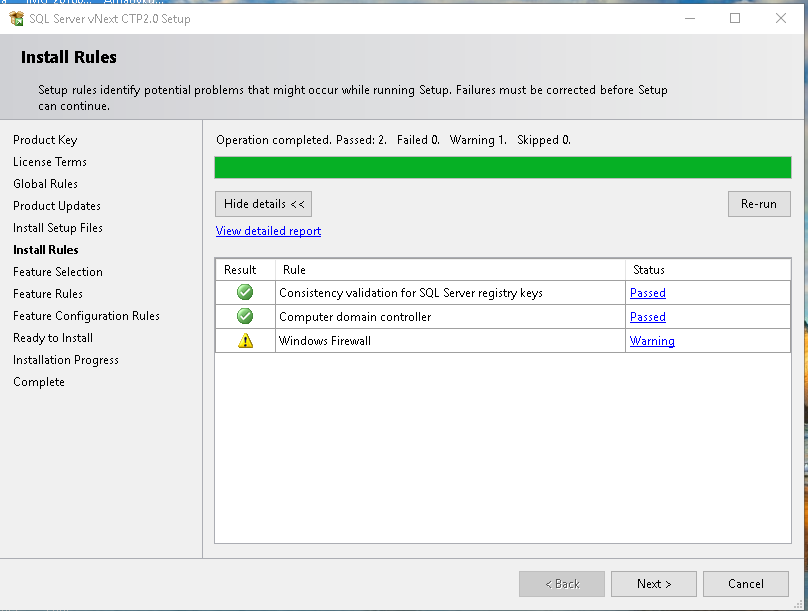
In the next screen, it checks for setting up rules that might cause issues in the SQL Server installation. We can see the warning message against the Windows Firewall but it can be ignored. Click next to move further.
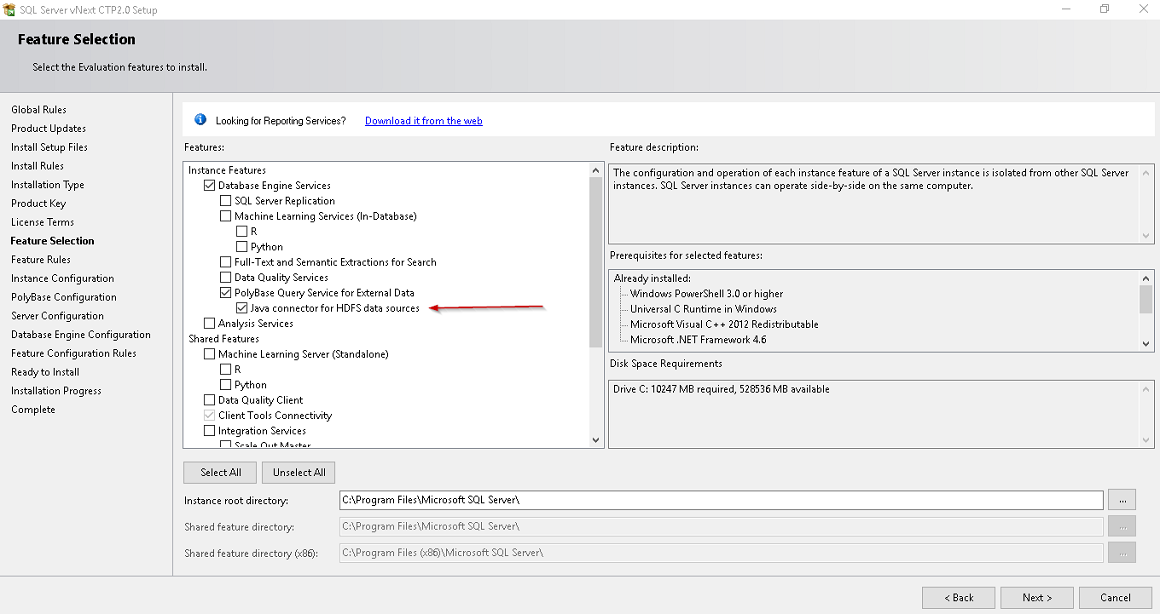
Now we need to select the features, we need to install with this installation. We can a new option ‘Java connector for HDFS data sources’ as compared with SQL Server 2017 installation.
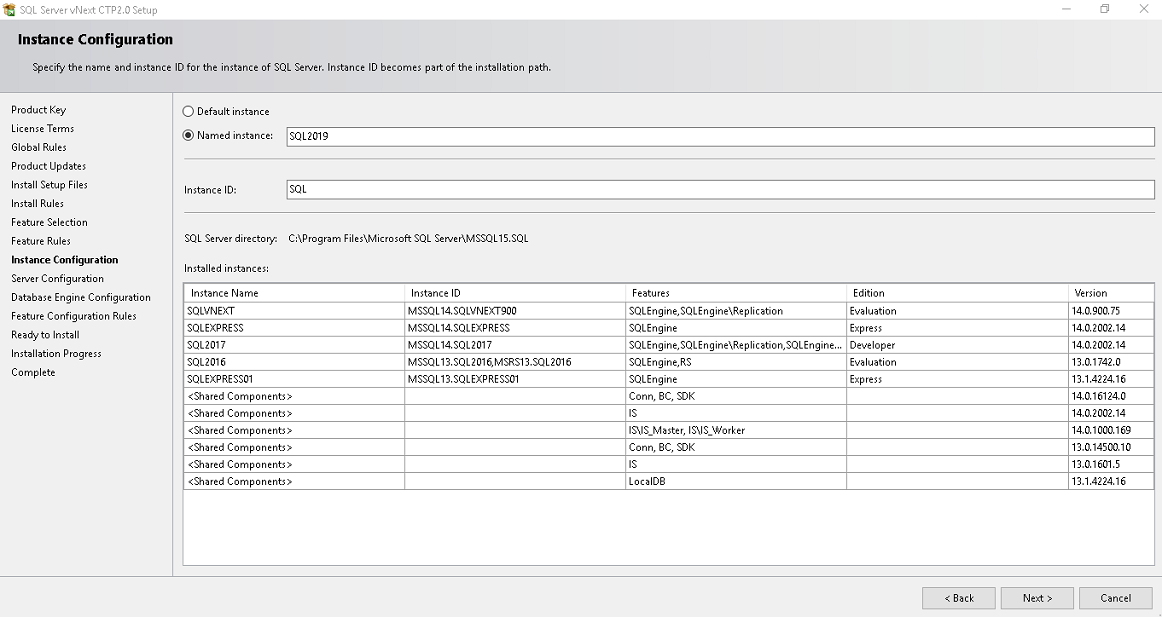
You can choose to install a default or named instance name. If a default instance is already present on the machine, we can only install named instance. Provide an appropriate name for the named instance. For example, I specified SQL 2019.
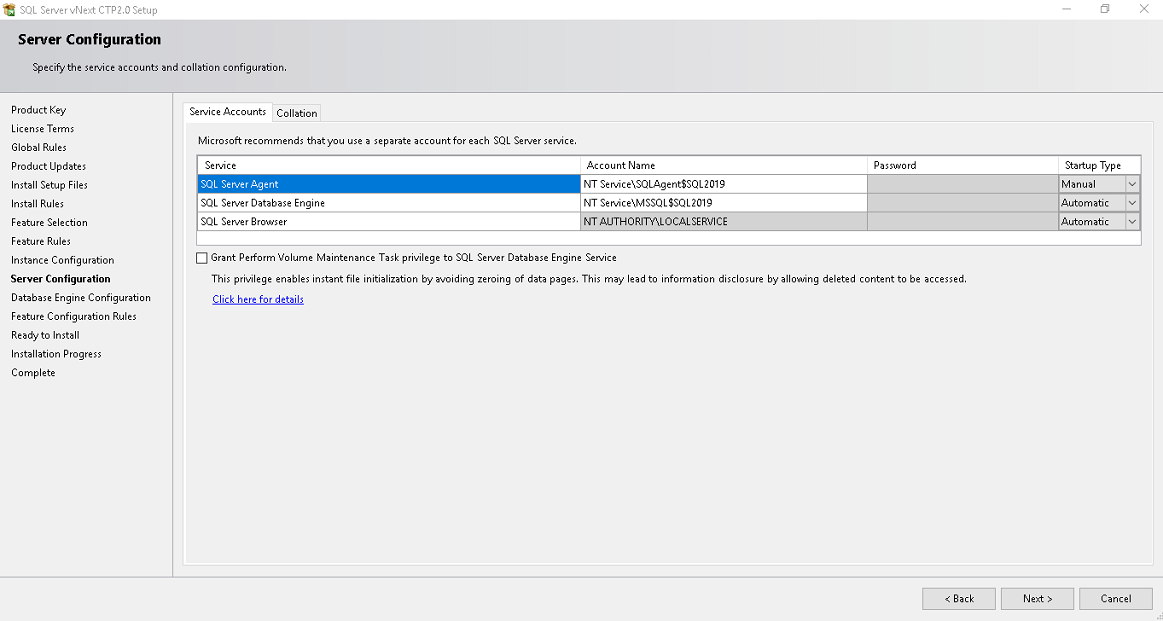
In the next page, Server configuration, you can specify service account to use for SQL Server services along with the Collation. In this article, let us move with default service account and collation. We can change service accounts later from SQL Server configuration manager
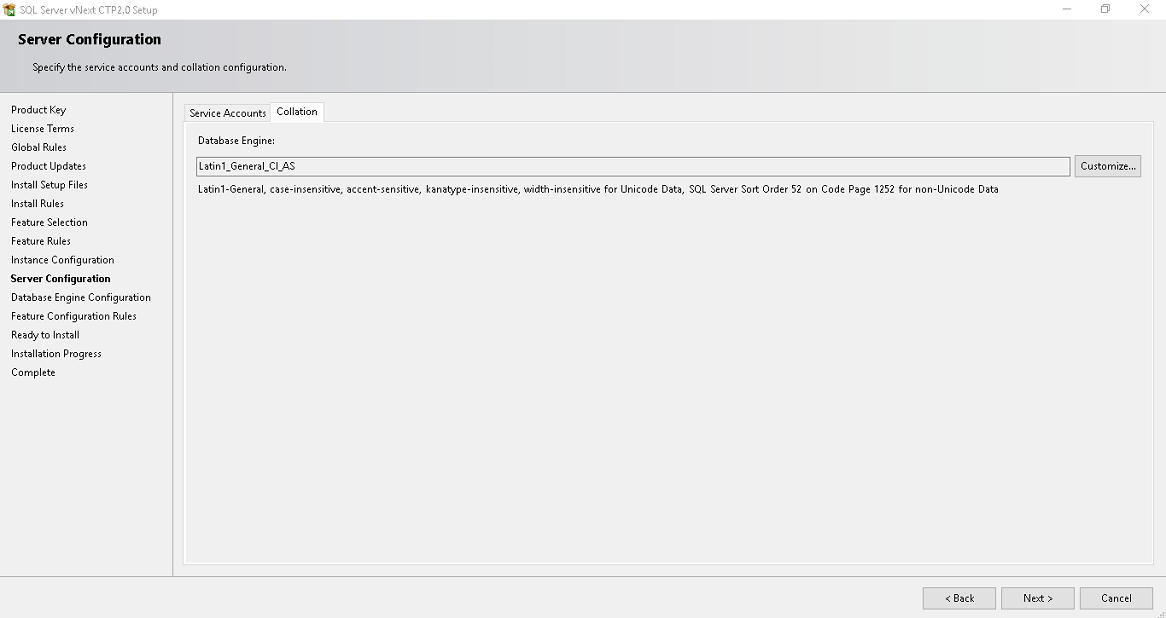
If we want to change the collation, click on customize and choose the required collation. We need to be cautious while changing Collation.
Specify Authentication modes (Windows or Mixed mode) and add users to have SQL Server administrators.
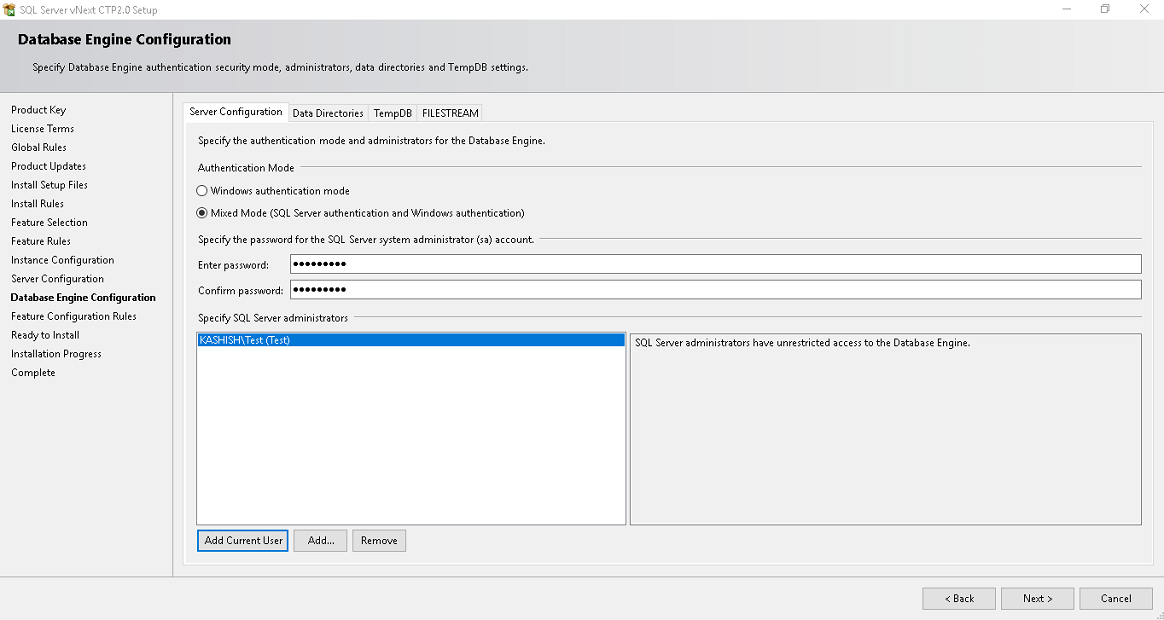
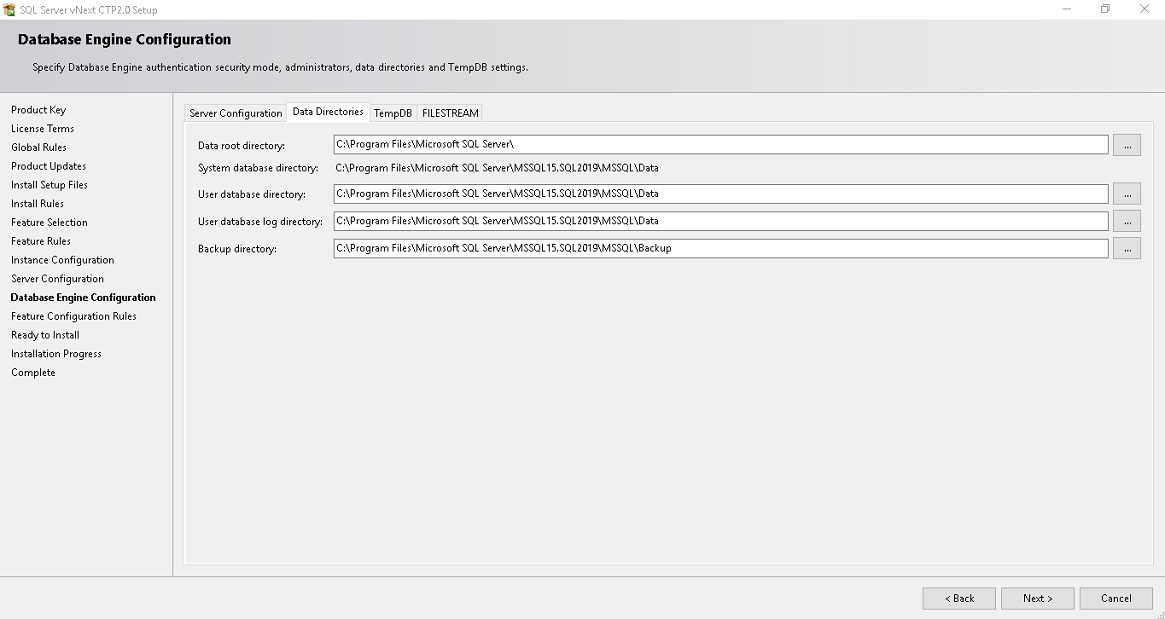
Click on Data Directories and we can specify the data, log files, backup directories here.
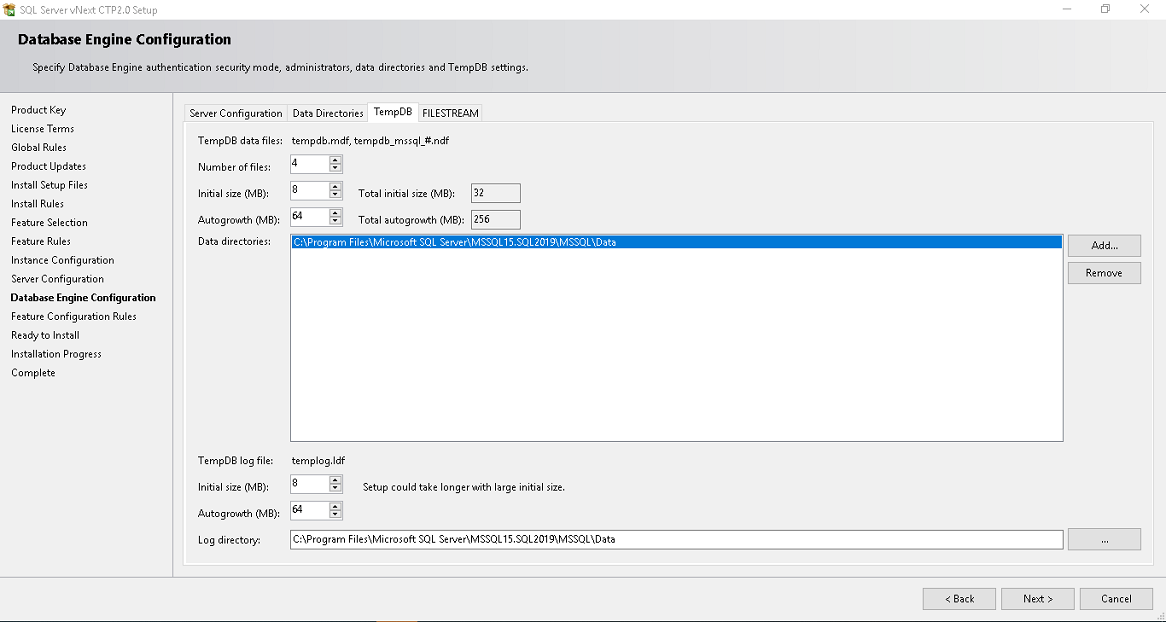
Click on TempDB to configure the TempDB configurations. We will move with the default configuration suggested by the installer.
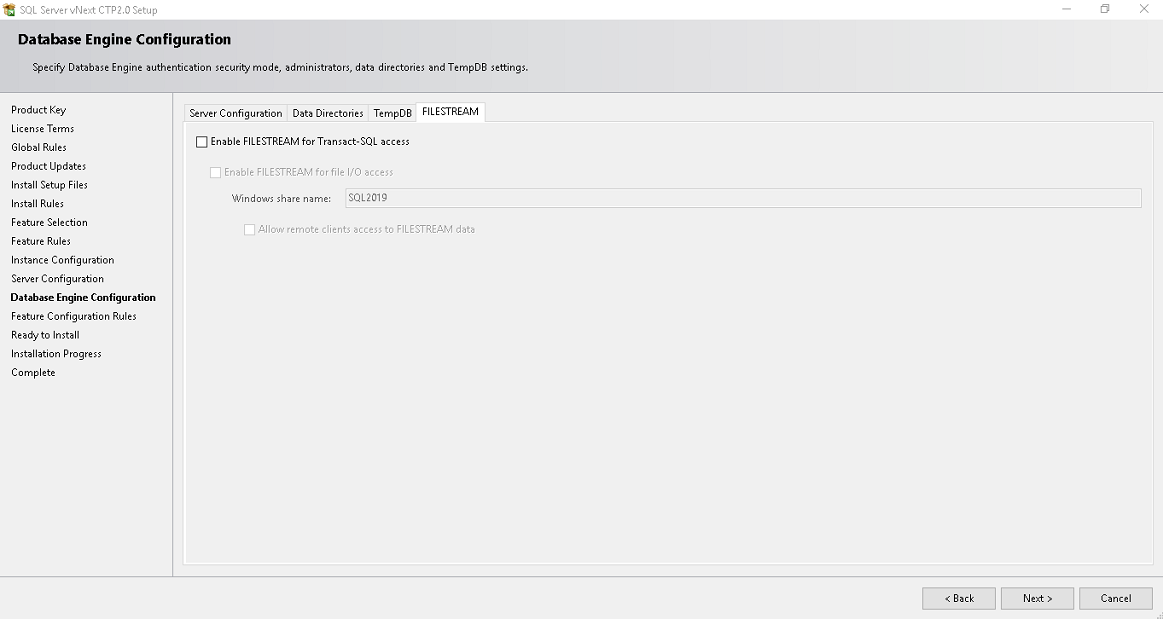
If we want to enable Filestream, enable this option else to leave and click on Next.
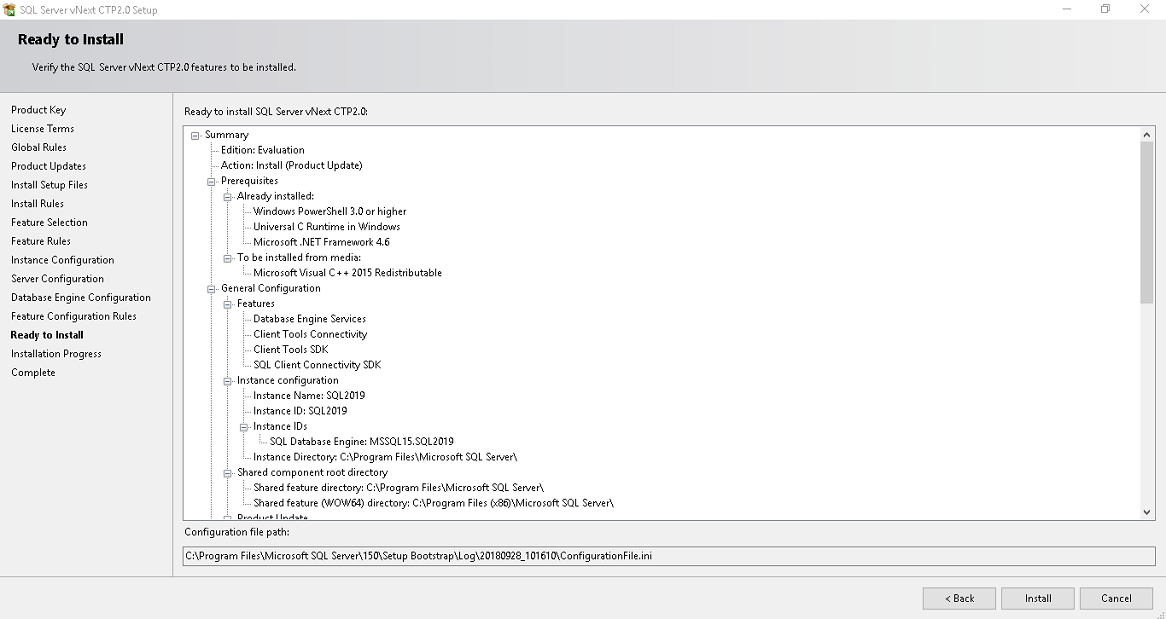
We get an overview of the SQL Server configurations from the Ready to install page. Review the information and click on next to start the installation process.
Once the installation is completed, launch SSMS 18.0 preview to connect with SQL Server.
Download and install SSMS Release 18 Preview 4
We need to install SSMS 18.0 preview 4 to connect to SQL Server 2019 and explore full features. To install SSMS 18.0 preview. Download from link.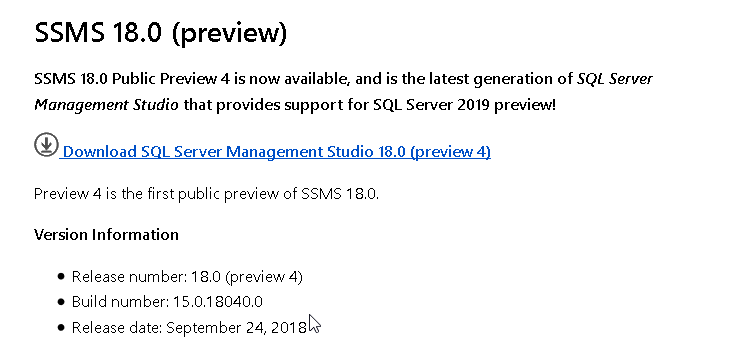
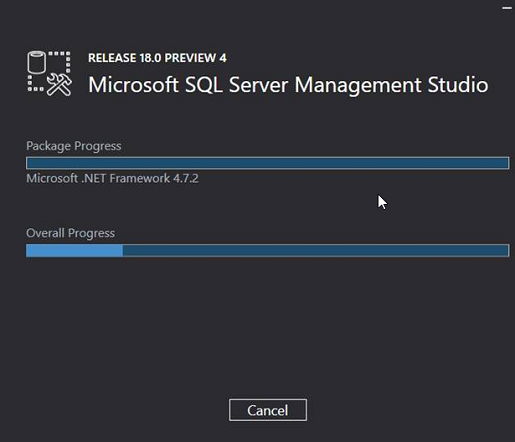
Download the SSMS release 18.0 preview 4 and start the installation. It just completes without any user input.
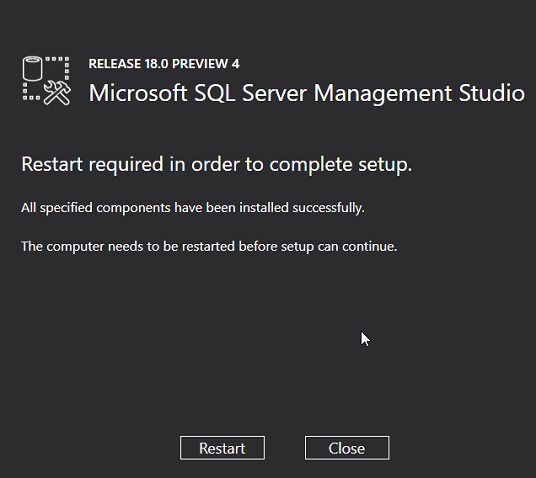
It gives below message to restart the system to complete setup.
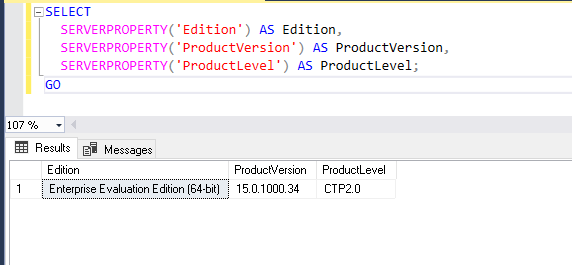
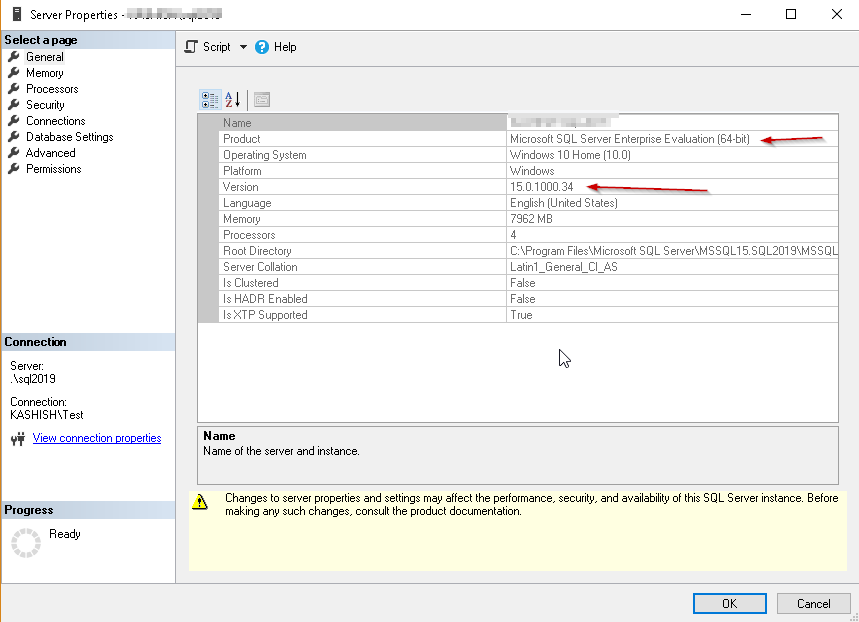
Now launch SSMS and connect to SQL Server to check the version and edition details.
Connect to the instance and right click ->properties
We can check the edition, product version and ProductLevel from query as well as shown below.
